How to Take Better Photos for Social Media: A Practical Guide for Business Owners

You do not need a professional camera to take photos that work for your business. What you need is a clear eye and a bit of intention.
Most business owners are already carrying the right tool in their pocket. The gap between a photo that looks polished and one that looks rushed is rarely about the equipment. It is usually about the light, the background, and whether anyone thought about the shot before taking it.
This guide (updated March, 2026) covers the fundamentals: what to look for before you press the button, how to set up your phone for better results, what to think about when you shoot for Reels, and how to build a photo library that actually gets used.
1. Light Is the One Thing You Cannot Fix Later
Photography is, at its core, the capture of light. Everything else is secondary. A flat or harsh photo is almost always a lighting problem, not a phone problem.
Shooting Outside
Overcast days are ideal. Cloud cover softens the light and spreads it evenly, which means no harsh shadows across faces or objects. If the sun is out and clouds are not cooperating, find shade instead. Step behind a building, stand under a tree line, or move into a covered area.
If you are shooting under trees, take a test shot first and look at the ground. Patchy sunlight through leaves creates uneven light that falls across faces in unflattering ways. You want to be standing in a consistent patch of shade, not half in and half out.
Shooting Inside
Window light is your best option indoors, and it costs nothing. The key is to choose a window that is not in direct sunlight. A north-facing or shaded window gives you soft, consistent light that is easy to work with.
If the shadows feel too strong on one side, a white foam board or a large white piece of poster board placed opposite the window will bounce light back and fill them in. It is a simple fix and it works.
Overhead pot lights and warm yellow bulbs tend to create unflattering colour and shadow. If you can, turn those off and rely on the window.

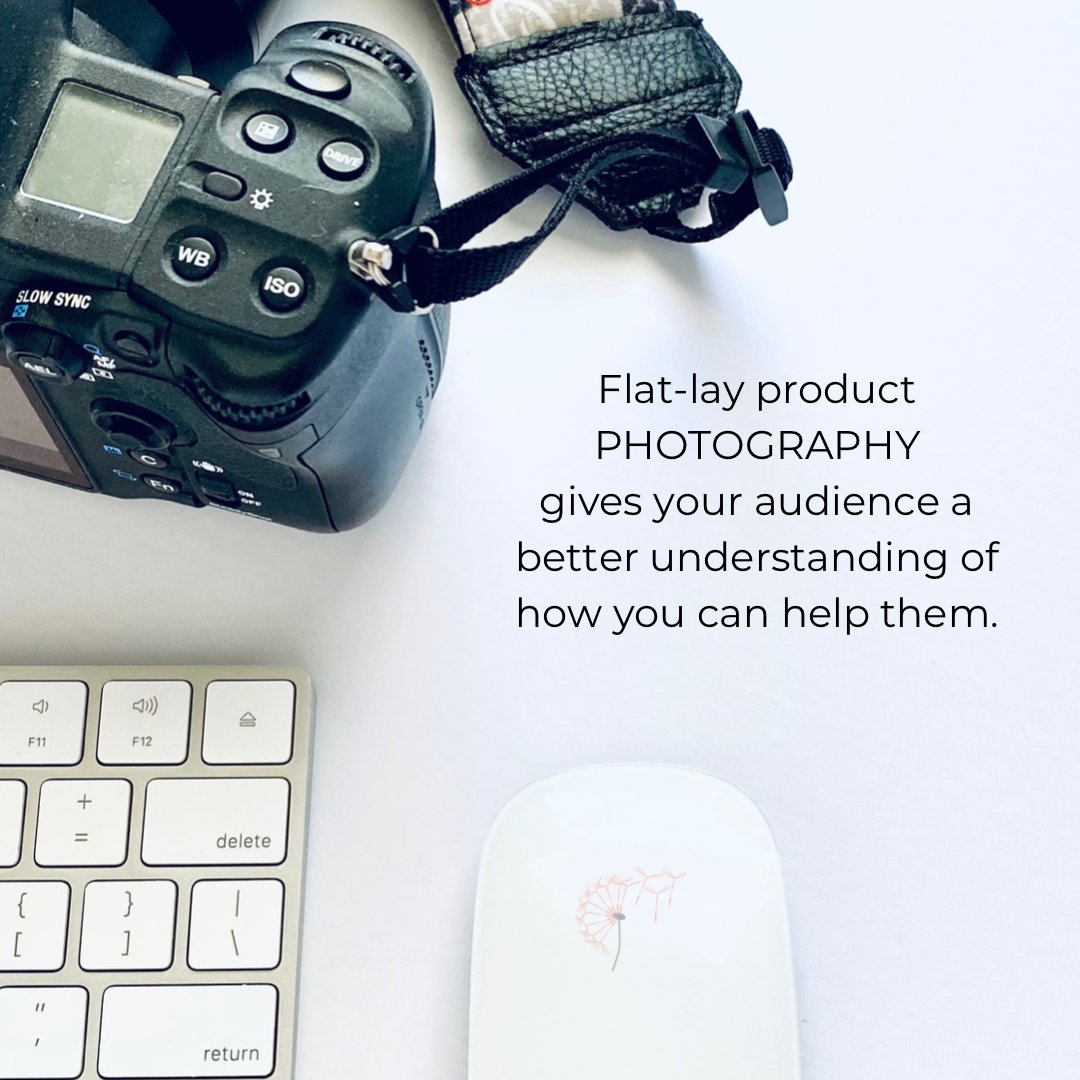
Flat lay photos can showcase your products and creations, and can be used to highlight your services.
2. Backgrounds: What the Camera Sees Is What the Viewer Gets
A clean background does not mean a blank wall. It means a background that does not pull attention away from your subject. Before you take the shot, do a quick scan.
The Quick Scan Checklist
- Water bottle in the foreground: move it
- Coffee cup in the background: move it
- Dark shadow on one side: block the light or reposition
- Hair out of place: fix it
- A branch or sign appearing to come out of someone’s head: shift your angle
- Extra people walking through the background: wait
One test shot before the real one saves you from noticing a problem after you are already home.

3. Phone Camera Settings That Make a Real Difference
Most people open the camera app and tap the shutter. A few small adjustments can make a noticeable difference in the quality of what you capture.
Lock Your Focus and Exposure
On both iPhone and Android, press and hold on the part of the frame you want in focus. This locks the focus and the exposure at the same time. Without this, your phone will keep adjusting as you move, which can cause blurry or inconsistently exposed shots.
Adjust Brightness Manually
After you tap to focus, a small sun icon will appear on iPhone. Slide it down to reduce brightness if the image looks blown out, or up if it looks too dark. Android phones have a similar slider. Use it. Phones tend to overexpose bright backgrounds.
Turn Off Digital Zoom
Digital zoom degrades image quality. If you want to get closer to a subject, physically move closer. If your phone has an optical zoom lens (the 2x or 3x option on newer models), that is different and fine to use.
Shoot in the Highest Resolution Available
Check your camera settings and make sure you are not shooting in a compressed format by default. On newer iPhones, this is found under Settings > Camera > Formats. Choose Most Compatible if you plan to edit or share across platforms. On Android, check Camera > Settings > Picture Size and select the highest option.
Use Gridlines to Straighten Your Shots
Turn on gridlines in your camera settings. They help keep horizons level and apply the rule of thirds, which means placing your subject slightly off centre rather than dead in the middle. The result tends to look more considered.
4. Shooting for Reels: What Changes and What Does Not
Reels run on the same principles as photography: good light, clean background, intentional framing. The difference is that movement and audio are now part of the picture.
Shoot Vertical
Reels are built for a 9:16 ratio, which means full-screen vertical on a phone. Shoot with your phone upright and frame yourself in the upper two-thirds of the screen. Leave room at the bottom for captions and audio credits without covering your face.
Stabilise Before You Press Record
A shaky video looks unprofessional no matter how good the content is. A small tripod or phone stand makes a significant difference and costs very little. If you are filming handheld, brace your elbows against your body or rest your phone on a surface.
Watch Your Background on Video, Not Just Photos
A busy or cluttered background is even more distracting in video because the viewer is watching it for longer. A plain wall, a bookshelf with some visual interest, or a simple outdoor setting all work. The goal is a background that supports the subject without competing with it.
Use Natural Light for Video Too
The same window light that works for photos works for video. Face toward the light source so your face is lit evenly. Avoid having a window behind you, which will turn you into a silhouette.
Plan for More Than One Use
When you are already set up and the light is good, film a few extra clips. B-roll of your hands, your workspace, your product, or the process of what you do is useful for future Reels and Stories. A few extra minutes on the day can give you content to draw from for weeks.


Dandelion Digital brand photography for Temi Bakes Pre-planning the photos not only makes the photo shoot go smoothly, but it helps you pre-plan your content. How-to posts to Educate. Behind-the-scenes to Entertain. Showcase posts to Endorse your CTA. Need more information on this, ask about our brand photography for social media
5. Build a Photo Library That Gets Used
The most common problem with DIY business photography is not the quality of individual photos. It is running out of them at the wrong time.
When you have something worth photographing, shoot more than you think you need. Multiple angles, a few close-ups, a wider establishing shot, and a detail or two. The same subject photographed from four angles gives you four posts, not one.
Think ahead about how those images could be used: on your website, in your newsletter, across social platforms, in a proposal, or in a pitch. That context shapes what you shoot. A photo of a finished product is useful. A behind-the-scenes shot of the process, a close-up of a detail, and a lifestyle image showing it in use are each useful in different ways.
Store It Somewhere You Can Find It
A photo bank is only useful if it is organised. Create a folder system, whether on a cloud drive or an external hard drive, and sort your images by date, project, or type. If you work with a virtual assistant or social media manager, use a shared cloud drive like Google Drive or Dropbox so they can access what they need without waiting on you.
When Phone Photography Is Not Enough
The tips in this guide will take you further than most business owners get on their own. Better light, cleaner frames, intentional shooting, and a photo library you can actually draw from will make a real difference.
There are moments, though, when the stakes are higher and the work deserves more than a phone shoot. A new website, a speaking engagement, a rebrand, a major launch. These are the moments where a strategic brand photography session does something different: it gives you a library of professional images built with your business in mind, planned ahead, and shot to be used.
If your current photos no longer match where your business is, it may be time to look at what a full session could do.
Get in touch to start the conversation.
For Photographers

Free Download

Free Download

Member:

Center for Women in Business, Halifax

Halifax Chamber of Commerce
Volunteer:
Military Family Resource Centre

North American Indigenous Games, Halifax, 2023
Social Media Day, Halifax
Finalist, 2021
Best Photographer - Finalist